This post is one that almost wasn't. You ever come home and it just seems like nothing goes right? That was me today. It started with my garden. This is my first year planting a garden and I have been having all sorts of hardships. I have been really attentive and meticulous too, which makes it all the more frustrating. Yesterday I came home and pulled off four rotten tomatoes. I think I have thrown away a total of seven tomatoes due to this problem, which is completely out of my control because it has to do with the inconsistency and intensity of our weather here (many hot, humid, drought inducing days followed by several consecutive days of heavy rain). Granted, I have about a dozen other tomatoes on the plant now that are fine, but I have yet to pick my first tomato and the more I have to pull off the more frustrated I feel. I also haven't had any cucumbers come up despite the fact they've been flowering for weeks and my pepper plants have stopped producing as well. So, this put me in a bad mood as soon as I got home.
Then I started dinner. I had leftover BBQ chicken in the fridge and at work got the fantastic idea to make BBQ chicken pizza with the leftovers. I remember the first time I made BBQ Chicken Pizza. I had this recipe that included these little nuances that made it way better than your typical BBQ chicken on pizza, but of course, when I got home, I could not find the recipe for the life of me and all of the sudden I got very flustered and felt like I had no direction for this meal (Type A much?). And to think, pizza is supposed to be one of those easy, I-don't-want-to-think-about-what-I'm-making kind of meals!
So, much like the last post, I just made this up as I went. It turned out delicious, thank goodness. I don't think I could have taken any more disappointment today.
BBQ Chicken Pizza ala Katie
Makes: one 12 inch pizza, 8 slices
Start to finish: 45 minutes
Pre-made pizza crust or pizza dough mix of your choice
-
I like Martha White's Light and Crispy mix
3/4-1 cup of part-skim finely shredded mozzarella cheese
-
I find that you can use less cheese and still get the desired
effect if you use finely shredded cheese as opposed to the
larger grates
1 cup of barbeque sauce, 1/4 cup reserved
- separate recipe to follow
1/4 cup sliced red onion
-
you can use any onion but I think the red onion is prettier on
the pizza
3-4 ounces diced or shredded chicken
- tips on how to easily whip up shredded chicken to follow
1/4 tsp paprika
1/4 tsp oregano
1/4 tsp thyme
chopped green onion to garnish (optional)
For the sauce: (inspired by
America's Test Kitchen)
1/2 cup ketchup
- I recommend an organic brand or Hunts- no HFCS
1/4 cup molasses
2 Tbsp grated onion
2 Tbsp Worcestershire sauce
2 Tbsp Dijon mustard
2 Tbsp cider vinegar
1 Tbsp brown sugar
If you don't have leftover chicken on hand, you'll want to get that going first. I like to cook up a bunch of chicken at a time and shred it for later use. Shredded chicken is the ultimate multi-purpose ingredient for week night meals. Need lunch for work? Put it in a wrap. Don't feel like making dinner? Throw it in a quesadilla. Need some extra protein at breakfast? Toss it in an omelet. Put it in just about any casserole, add it to soup...I could go on for hours.
My preferred method of preparing these is poaching them in an aluminum foil packet in the oven. First, cut yourself a long piece of heavy duty aluminum foil (you will be folding it up so make sure you have a big piece).
Liberally salt and pepper these guys and drizzle olive or canola oil on each side to coat. The oil will help the chicken stay moist in the oven.
Fold the pieces hamburger style (yes I just said that) and assuming you made your piece big enough, you should be able to bring together the ends and fold them to make a seal.
Next, fold in the other two sides, making seals at all four ends. This is going to lock in steam in the oven and therefore poach the chicken breasts.
Throw these into a 425 degree oven and cook them for 25 minutes. Depending on how many pieces you're doing at once, they may not be done at 25 minutes, but I like to start checking at that point. You know your chicken is done when it reaches 165 degrees.
Old school cookbooks will tell you chicken should be cooked to 180 degrees, but I think old school cooks must have just liked dry chicken, or been paranoid about salmonella. The USDA recently
lowered their standards so I promise you won't die.
Wait until the chicken is cool enough to handle, but not cold, and shred it with a fork. At this point the chicken will pull off easy. The colder it gets, the harder it will get to pull the chicken apart.
Ok now that we've addressed that, it's pizza making time. The first part is very easy. Follow the directions on the back of your pizza crust package. For mine, you start by preheating your oven to 475 degrees. While the oven is preheating you combine the mix with 1/2 cup hot water, let it rest for 5 minutes (this makes the dough more workable) and then spread it out onto a greased pizza pan. I use a pizza stone but have also had success using a small jelly roll pan.
Turning your dough into a pizza topping canvas is sort of an art (I think of it as a canvas because unlike many other foods, you can put just about whatever you want on it and call it pizza). If you don't handle the dough with care you can have quite a mess on your hands, no pun intended. I start with a ball in the middle of the pan. I oil my hands so that they don't stick to the dough and I start gently pushing outward, using only the tips of my fingers. You should be pushing the dough out from the center in equal directions so that you end up with an even, and perfectly round canvas.
I should point out here that if you work the dough too roughly, you might end up ripping the dough. You also may aggravate the gluten to the point that your dough starts bouncing back at you. If this happens, stop what you're doing and let the dough rest for a bit, say 5 minutes. The gluten will settle itself down and you can go back to spreading the dough easily.
I feel like there needs to be a picture here to break things up but I forgot to take any pictures of the dough so enjoy a picture of my puppy instead.
The next part of the process has been much debated in my house. Do you prebake your pizza crust and if you do, for how long? All recipes will tell you to pre-bake your dough a little, but I have often found that their instructions are a little conservative. If you don't pre-bake your crust enough, a lot of bad things can happen to your pizza. First, your pizza may not be browned all the way through when it's ready to come out, making your crust a little doughy. You may end up with soggy pizza due to the weight of the sauces and toppings. Or, you may end up with burned toppings because you kept waiting for your crust to turn golden brown on the bottom. I have had all three of these things happen to me.
I do not want these things to happen to you, so I recommend you pre-bake your crust anywhere from 7-10 minutes on the bottom rack of your oven. Definitely no less than 7 minutes. The toppings you put on your pizza will already be cooked, they just need warming, and your cheese takes like 3 seconds to melt so when you apply your toppings you basically want your crust to be 75% done. It should not be doughy at all and should start showing signs of browning, like this:
While your crust is in the oven, you should be assembling your sauce. I suppose you could use a store bought sauce but I just love a good homemade sauce. It's easy, cheap, and you don't have to worry about things like high fructose corn syrup and modified food starch (seriously, look at the back of the bottle next time you are at the store). If you are in a barbeque town like me you have a better shot at finding a respectable store bought sauce, in other towns, Trader Joe's actually has an acceptable sauce. This is so easy though, I don't know why you'd even bother with anything else.
So, how do you make my sauce? Well, you see, it's really quite the intricate process... you toss all the ingredients in a saucepan and simmer it until it's reduced by half.
If you do this as soon as you put the pie in the oven, they should be done at the same time. Side note: isn't my itty bitty saucepan the cutest thing you've ever seen?
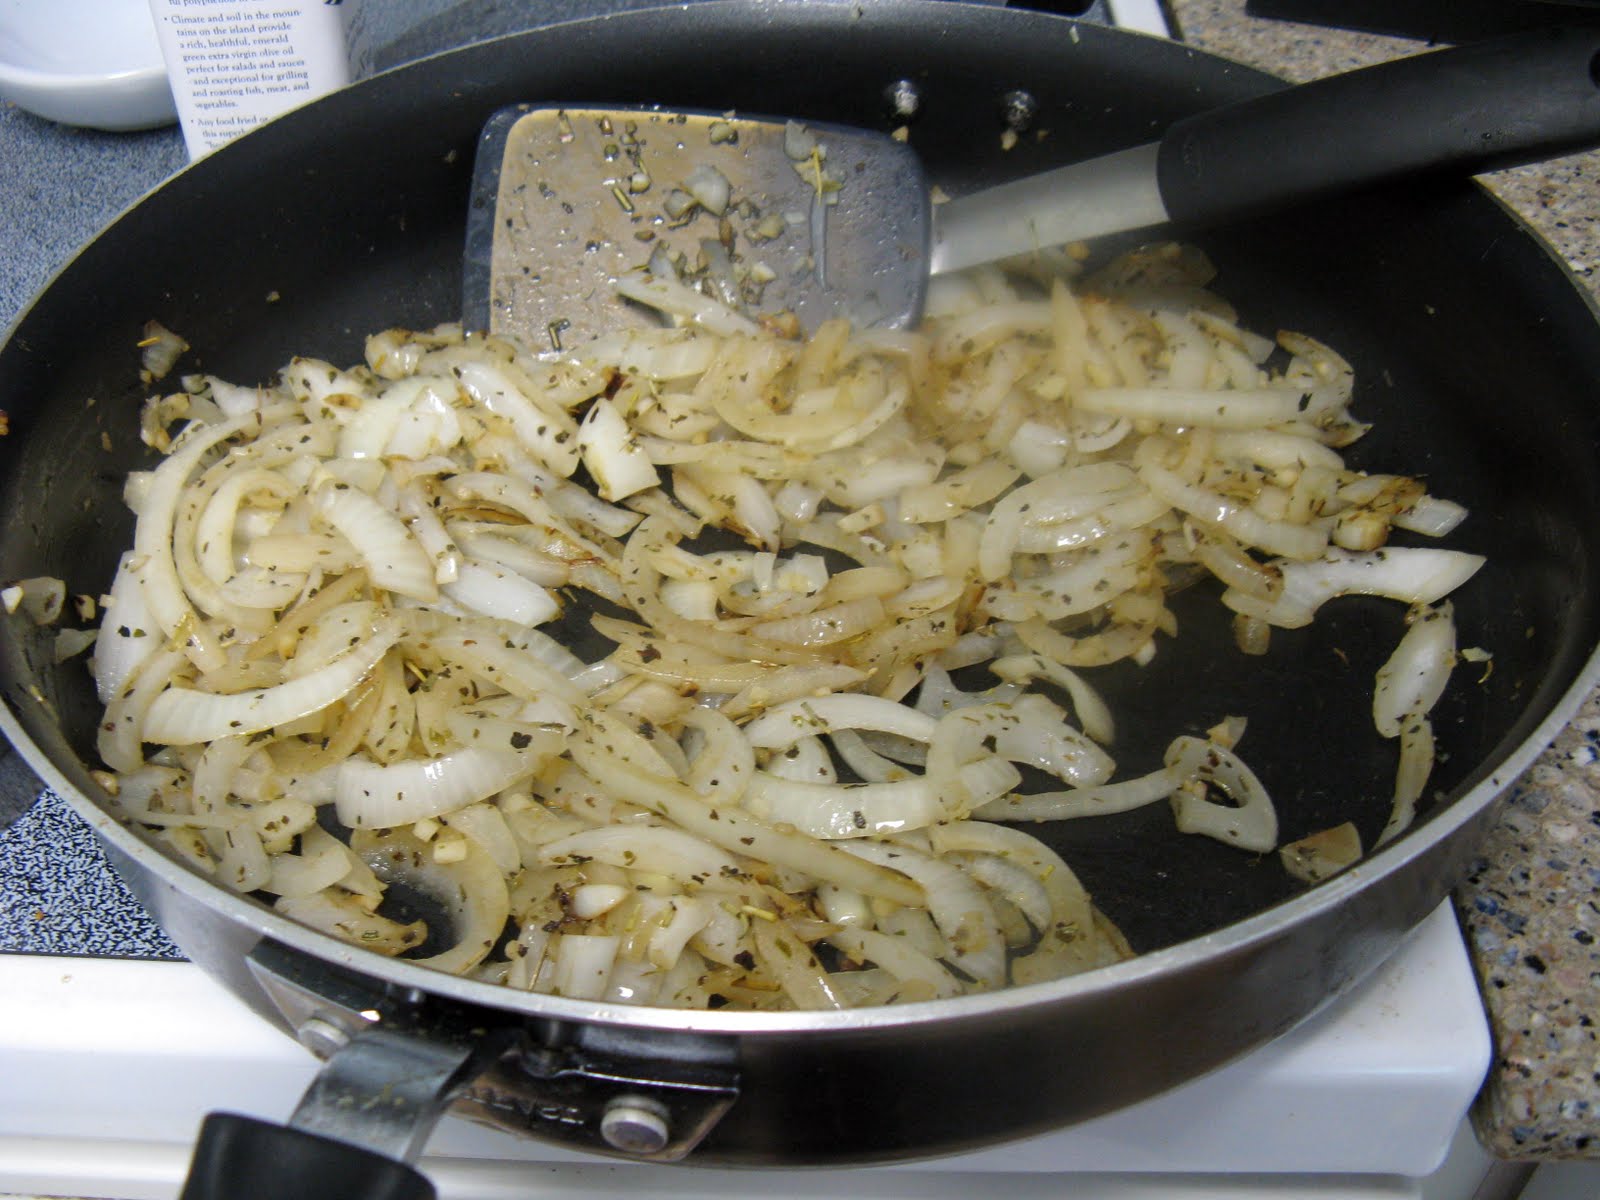
Use this down time to also prep your toppings. I chopped up some onions and leftover barbeque chicken.
For the onions, I really think red onions are best, but in a pinch (like I was in yesterday), you can always use white onions.
I actually had this great idea after the fact to caramelize the onions before putting them on the pizza. How fantabulous would that be? Why don't I ever think of these things at the right time?
At this point, you should have your toppings, crust, and sauce ready to go. For this pizza, I spread most of the sauce on the crust, reserving some to drizzle on the top when it's done (it's all about presentation, people). I also like to do some toppings below the cheese, some toppings on top of the cheese, so you'll see I've put some chicken directly on the sauce.
Next you can layer on your cheese, and then any remaining toppings. Personally, when it comes to cheese on a pizza, I am a minimalist. Too much cheese will overwhelm all the other flavors you're trying to create and the less cheese you have, the more waistline-friendly it is, so use discretion. When I got all my toppings down, I felt like the pizza was missing something, so that's where the spices came in. Sprinkle paprika, thyme, and oregano on top. See how pretty it looks now?
Bake your creation at 475 degrees for another 5ish minutes- just enough that your cheese is melty and the edges of your crust are super crunchy and delicious looking... kinda like this:
Take the reserved sauce and drizzle it over the top for that extra special touch. This pizza was really good but it will be even better tomorrow, assuming there's any left. Cold pizza anyone?