Showing posts with label Sides. Show all posts

Friday, September 9, 2011

Pickled Peppers


Peter Piper picked a peck of pickled peppers...ok I'll stop.  I don't know if you've ever had something pickled that wasn't a pickle, but I'm here to tell you, everything is better pickled.  Even green beans.  Oh how I love my Aunt Connie's pickled green beans.  But I digress.

I have eaten many jars of pickled bounty so I figured it was time I finally learned how to pickle things myself.  But of course, I didn't want to invest in all those fancy canning contraptions.  I also didn't want to buy a dozen mason jars.  So, I searched.  And searched. I finally came across a recipe that didn't require you to "can" your pickles the old fashioned way.  I also found enough people online who said you didn't HAVE to use glass jars that I decided my plastic jar would suffice (but if you have mason jars on hand, by all means use those).

Pickled Peppers
Makes 2 large jars
Start to finish: 1 week (15 minutes prep)

1 lb peppers (I used Italian peppers but any pepper will do)
2 1/2 cups water
2 1/2 cups vinegar
3 Tbsp sugar
3 Tbsp salt
2 Tbsp black peppercorns
2 Tbsp coriander seeds
2 bay leaves
4 cloves of garlic

Cut the peppers into rings that are about an inch thick.
Bring all the other ingredients to a boil in a saucepan.  When the liquid starts to boil, turn the heat down and simmer for 5 minutes.

While that is going on, place your peppers into your container of choice.

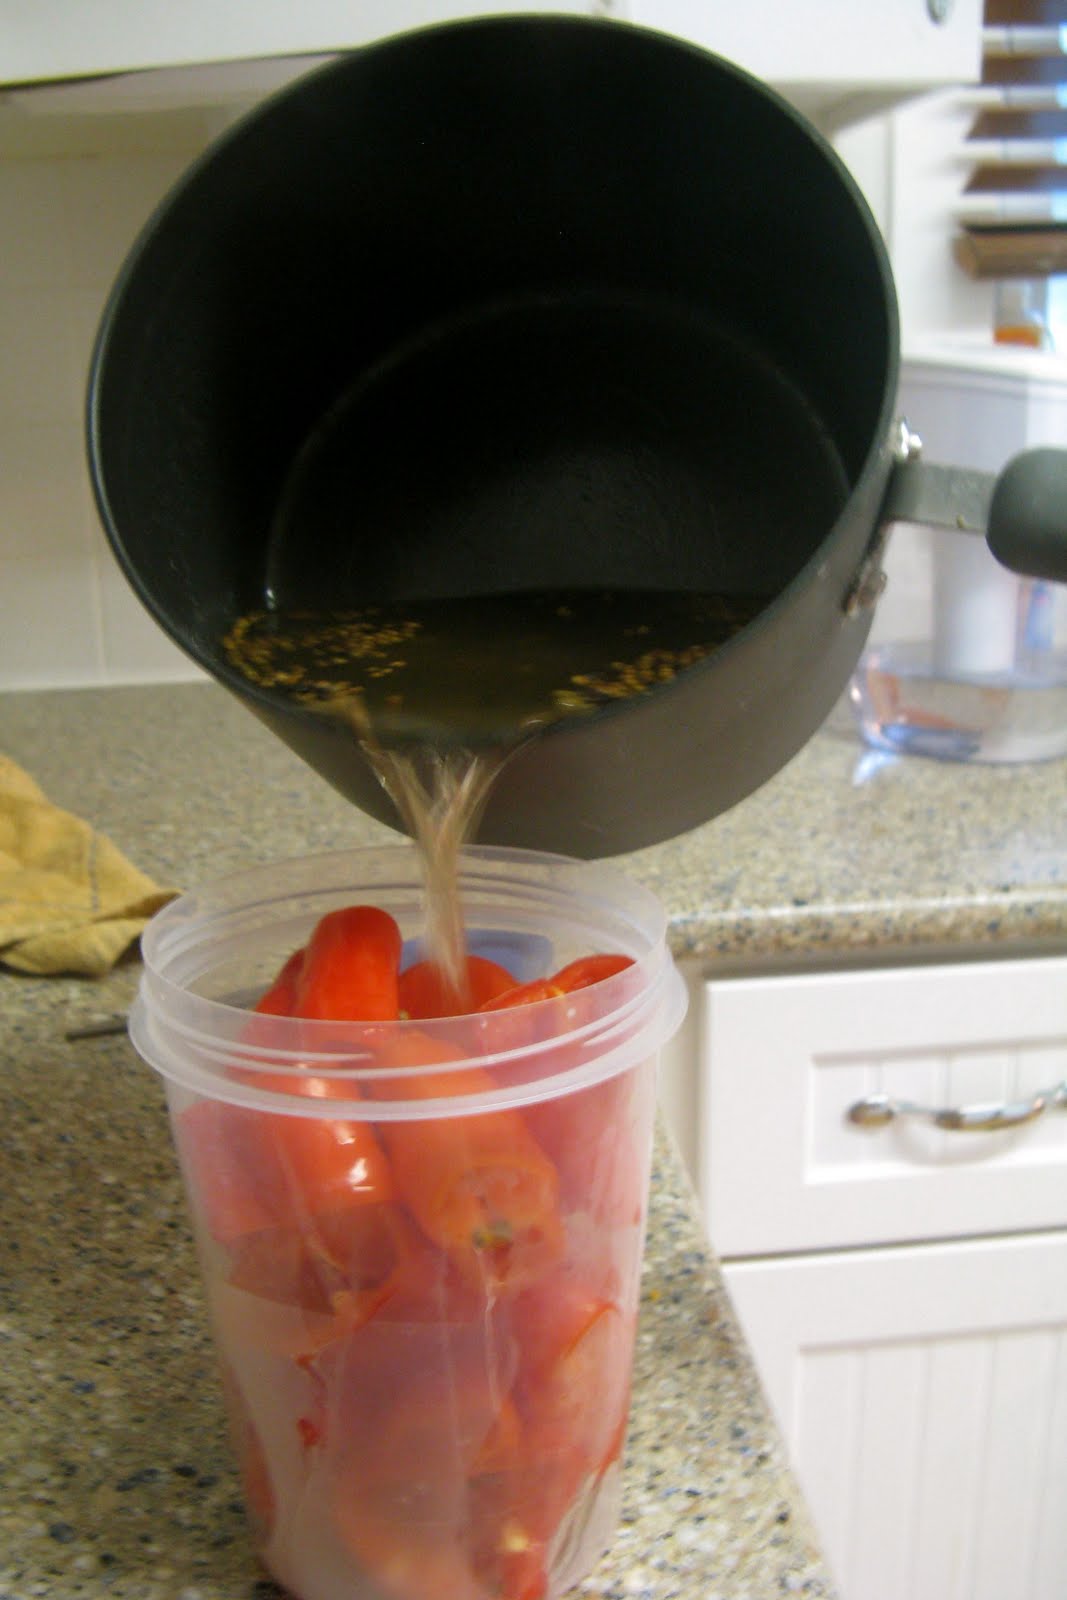
After 5 minutes, pour the pickling liquid over the peppers.

Cover tightly with a lid and let the container cool on your counter.  

Once it's cooled, put it in the refrigerator for A WEEK!  Yes, a week.  You have to let those pickling juices do their work!  I must also put a disclaimer here that because these are not pickled the official way, you have to keep them in the refrigerator.  These are not the kind of pickles that you can keep on the shelf.  Unless you like botchulism.  But if you keep them in the fridge you'll be fine.

Thursday, September 1, 2011

Super cool corn trick

This is not a recipe at all, but when I saw this at my bestie's house this weekend, I HAD to share.

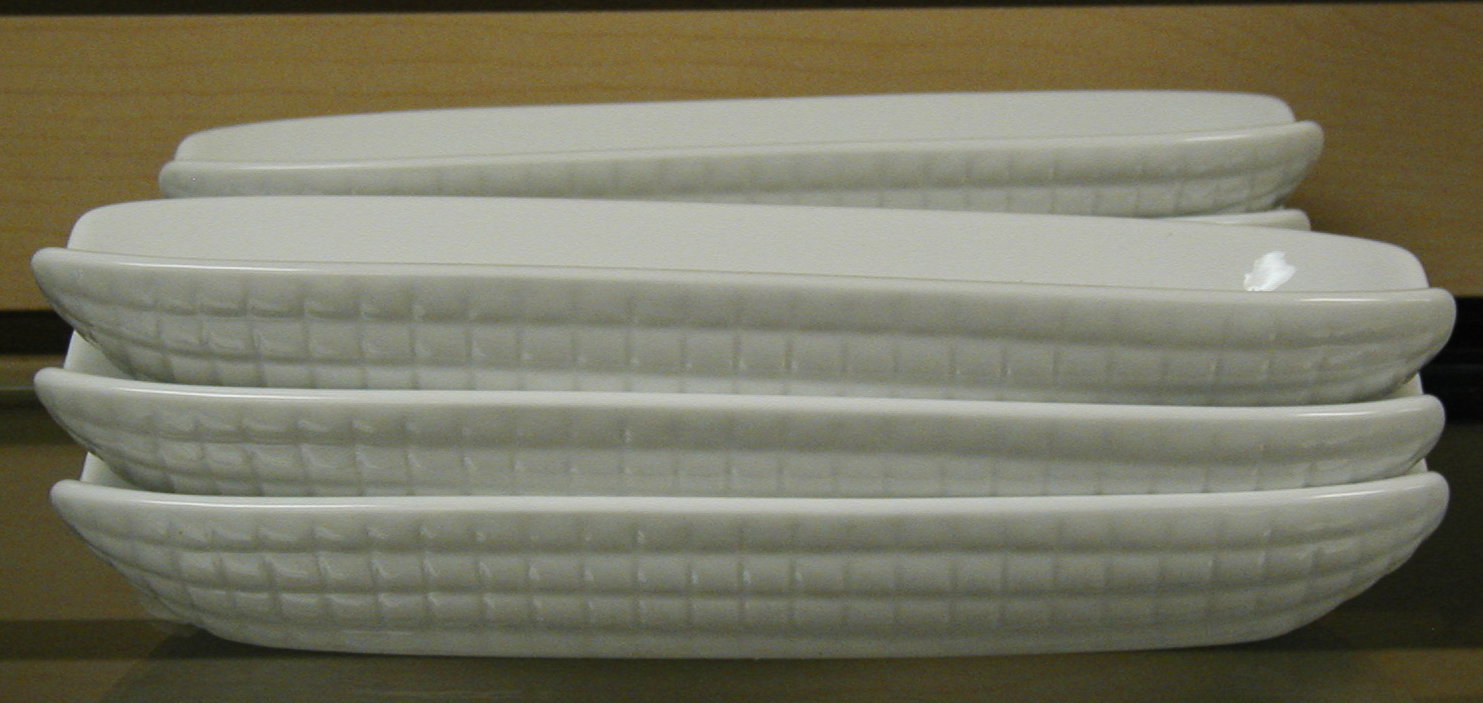
Tis the season for corn on the cob.  But gosh darn it, corn is hard to butter isn't it?  The butter is so swishy sloshy, and even if you use one of those corn dish things, more melted butter ends up in the bottom of the dish than on your corn.

So, imagine my excitement upon learning this trick.  Imagine this: I'm standing there in my friend's kitchen, watching every thing get spread out for dinner, and someone cries, "Don't forget the buttered bread!"  At first I was confused as I watched them slather a thick layer of butter on a simple piece of sandwich bread.  This feast certainly did not warrant it.


Then someone explained to me that they use it to butter their corn!  Yes, you heard me right.  They use the butter bread to butter the corn.  You cradle the bread in your hand like you would a hot dog bun, and then twirl your corn cob around.


Genius!  You get so much butter on the corn it's ridiculous.  I was so impressed I had to spread the word.    Think it's weird?  Try it next time you have corn and then we'll see who's laughing.

Saturday, August 6, 2011

Fried Green Tomatoes

This is quite possibly the corniest and most cliche thing ever, but I recently watched Fried Green Tomatoes for the first time.  What?  You haven't seen it?  Well, it's a cute movie.  And it made me want to try making my own fried green tomatoes.


 I have had fried green tomatoes before, but I had never made them.  Until now.

Then, when I was at the farmer's market last week there was a man selling green tomatoes!  Perfect.  Except later, as they started to turn red on my window sill, I would find out these were not actual green tomatoes, just unripened regular tomatoes.  Rookie mistake.  I will find real green tomatoes (an heirloom variety) before the summer is over.  But that is another post.

Fried Green Tomatoes
Makes 6 fried green tomato slices
Start to finish: 15 minutes

2 green tomatoes
1/3 cup cornmeal
1/3 cup + 1/2 cup white all purpose flour
1/8 tsp salt
1/8 tsp pepper
1/4 cup milk
2 Tbsp canola oil (assuming you use a small pan

I must say I was shocked that something so delicious could be so easy to make.  The instructions are simple.  Set up a dredging station with three plates.  In one plate, combine the cornmeal, flour, salt and pepper.  In the second plate, pour the milk.  In the third plate, pour the remaining flour.

Slice your tomatoes half an inch thick.  You should get about three slices per tomato.  Salt and pepper them generously.  Coat the bottom of a medium skillet with canola oil and place over medium-high heat. Because of the size of my pan, I only needed about 2 tablespoons of oil to coat the bottom of the pan.

Coat the tomatoes in flour, followed by milk and cornmeal mixture.
  

Place them in your skillet and let them sizzle, undisturbed for 2 minutes.  You want them to get golden and crusty.  Turn them over and repeat the process.

At this point, they are ready to eat.  What a great side item for just about any meal or appetizer!  You can probably make these faster than I could type this post.

Sunday, July 24, 2011

Spicy Honey Chicken and Thai Peanut Noodles


 I love Asian cuisine, though I hardly ever make it at home.  It seems like every time I go to make a recipe there are multiple ingredients that I don't have (rice vinegar, sesame oil, tamari, chili paste, fish sauce...it's a long list).  I always tell myself that I'm going to invest in the the items so I have them on hand in my pantry but I never do.  This means that Asian food at my house is usually limited to stir fry and rice.  Imagine my delight and surprise when I came up with these two Asian inspired recipes that I could make using things I already had in my pantry!

The first one I adapted from Real Mom Kitchen.  I adjusted some of the spice levels and I left out the vinegar from the glaze because I think it sticks to the chicken better when it's not so thinned out.  I also only made 4 thighs instead of 8 and I basted the chicken more than the recipe directed.

Spicy Honey Chicken Thighs
Makes: 4 servings
Start to finish: 30 minutes

4 bone-in chicken thighs, skin removed

For the Rub:
2 tsp garlic powder
2 tsp chili powder
1/2 onion powder
1/2 tsp coriander
1/2 tsp salt
1 tsp cumin
1/4 tsp cayenne pepper

For the glaze:
1/4 cup honey

Start by removing the skin off your chicken thighs.

In a bowl, mix together all the spices and rub them into both sides of the chicken.

Turn on your broiler and line a cookie sheet with foil (this will prevent the messiness that would ensue if you let the basting juices go everywhere).  Place the chicken on the top rack under the broiler for 5 minutes.
After 5 minutes, flip the chicken over and broil for another 5 minutes.  

Take the chicken out and baste it with honey.  Move your oven rack down one level and return the chicken to the oven for 2 minutes.
After 2 minutes take the chicken out and baste it again.  In another two minutes baste it again.  At this point start checking for doneness, otherwise basting every two minutes.

While your chicken in broiling, you should be simultaneously working on this next dish:

Thai Peanut Noodles
Adapted from: Ellie Krieger
Makes 4 servings
Start to finish: 20 minutes

6 ounces whole wheat linguini noodles
1/4 cup natural peanut butter
2 Tbsp chicken broth
1.5 Tbsp soy sauce
2 tsp brown sugar
2 tsp ground ginger
1 Tbsp lime juice
1/2 tsp minced garlic
1/4 tsp red chili flakes (feel free to use more but I have a love-hate relationship with chili flakes)
1 Tbsp dried minced onion

Cook your noodles until they are al dente.   Blend all the sauce ingredients in a blender/food processor/Magic Bullet (I am a Magic Bullet fan myself).  

Mix this sauce with the pasta.  It's that easy.
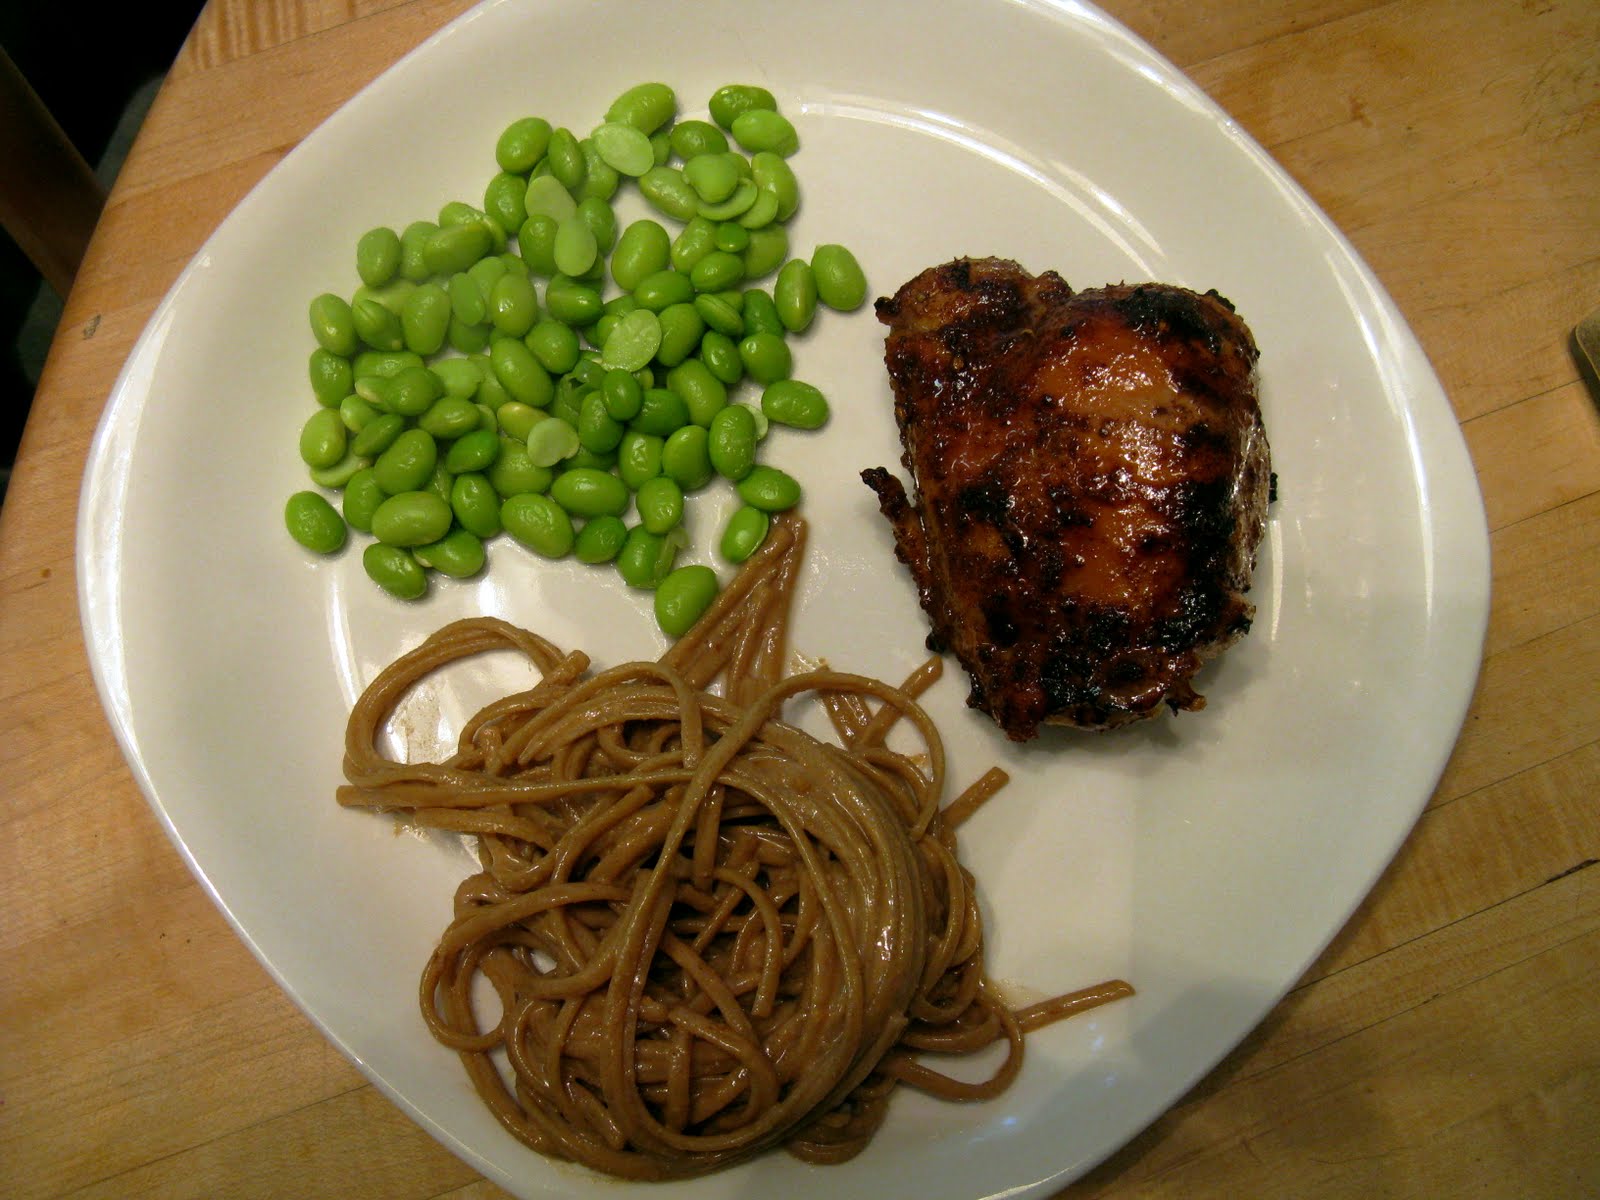
I served my chicken and noodles alongside some edamame.  So there you have it, an easy dish when you need an asian fix and don't feel like investing in all the traditional asian ingredients.  

Thursday, July 21, 2011

Summer Fruit Salad


I am so excited by all the fruit that is in season right now. It tastes better, it's easier to find organic options, and it costs a lot less to consume.  My local grocery store had quite the sale on different fruits this week and the only way I thought I'd be able to consume it all was by making a fruit salad.  My sister-in-law makes the best fruit salad and she always brings it to family functions.  This is me trying to mimick it from memory.  I hope I did it justice.

Summer Fruit Salad
Makes: 8 servings
Start to finish: 15 minutes

2 kiwi, sliced
10-12 medium strawberries, sliced (preferably organic)
1 cup seedless red grapes, halved (again, preferably organic)
1 granny smith apple, chopped (not to beat a dead horse or anything)
1 8oz can pineapple chunks, halved
1 16oz can mandarin oranges
1 banana, sliced---if serving immediately
lemon juice to coat

The assembly of this is pretty self explanatory so I won't bore you with pictures of me chopping fruit.  I do want to provide some suggestions/tips though.

The first one is about kiwi.  Is it me or is it fun to say the word kiwi?  This cute little fruit is sort of new to me.  I have tried it here and there but until this summer I had never purchased whole kiwis.  When I finally did get some and got them home, I stared at them a little perplexed.  How was I supposed to get this hard, brissly skin off without destroying the kiwi?  A quick youTube search revealed the answer.  You may be a kiwi master and already know this but I thought it was a pretty nifty trick.

You simply cut off a slice on each end of the kiwi, and then you wedge a spoon between the exposed skin and fruit until the skin just pops off.
 Once you've removed the skin you can slice this guy right up.

Now a little bit on why I chose the fruits I did.  First, I wanted a variety of color.  Green, red, orange, yellow... I wanted it all in there (we eat with our eyes first).  Also, I wanted a balance between tartness and sweetness (hence why I chose a granny smith apple over others for example).  So, as much as it may seem that I just threw this together, it was a very thoughtful process.

Some of these fruits are going to be prone to browning, specifically the apple and the banana so be sure that you coat these in lemon juice before adding them to the salad.  The banana will also have the tendency to get mushy the next day so since I knew I would be eating this for several days, I sliced off a few banana pieces as I ate each serving.


Here is the final product all tossed and ready to be devoured.  Isn't it pretty?  Trust me, it tastes as good as it looks.

Tell me, what are some of your favorite things to put in a fruit salad?

Tuesday, July 12, 2011

My Take on Caprese Salad

When you love food, summer is the most exciting time of the year.  I say this because this is when all the best foods are in season and when they're in season, they taste 20 times better.  There is no fruit or vegetable that this statement applies to more than tomatoes.  Nine months out of the year, tomatoes are dull, watery, and flavorless...but during summer, the tomato is transformed to one of the most delectable morsels you can get your hands on.  Specifically if you get them from a farmer's market or you are able to grow them in your own backyard.

A lot of people say they don't like tomatoes, I know because I use to be one of them.  I was that person who always picked the tomatoes out of her salad.  This is because I had never had a GOOD tomato.  Then last summer my dad brought home these tomatoes from the farm.  My parents would just slice them up and eat them raw with salt and pepper.  This seemed completely disgusting to me but I tried them out of curiosity.  O. M. G.  One bite and I was a convert.  I cannot describe the taste of a good tomato, I just know it tastes amazing, so you will have to try them this way if you haven't.

One of the most popular preparations of tomatoes is a caprese salad.  This basic salad consists of raw tomatoes, slices of mozzarella, and basil.  Today I have taken this salad to a whole new level.

Tomatoes are one of the few vegetables that is actually better cooked than raw.  When you cook tomatoes, it concentrates their flavor, and elevates the level of lycopene, a well known and powerful antioxidant.  So I figured, if raw caprese salad tastes great, cooked caprese salad must taste even better!  And so started my experiment.

I don't have a recipe for this so you will just have to follow along.  You want to start with a big, fat, ripe, tomato.  These are best for slicing.  When you get your big fat tomato, please do me a favor and do NOT put it in the refrigerator.  The compound that is responsible for the wonderful smell and taste of tomatoes is KILLED when you stick it in the refrigerator.  So please, do not refrigerate it.  Instead, place it on the window sill in your kitchen.  If you leave it there for a couple days, it will taste even better than it did when you brought it home.  

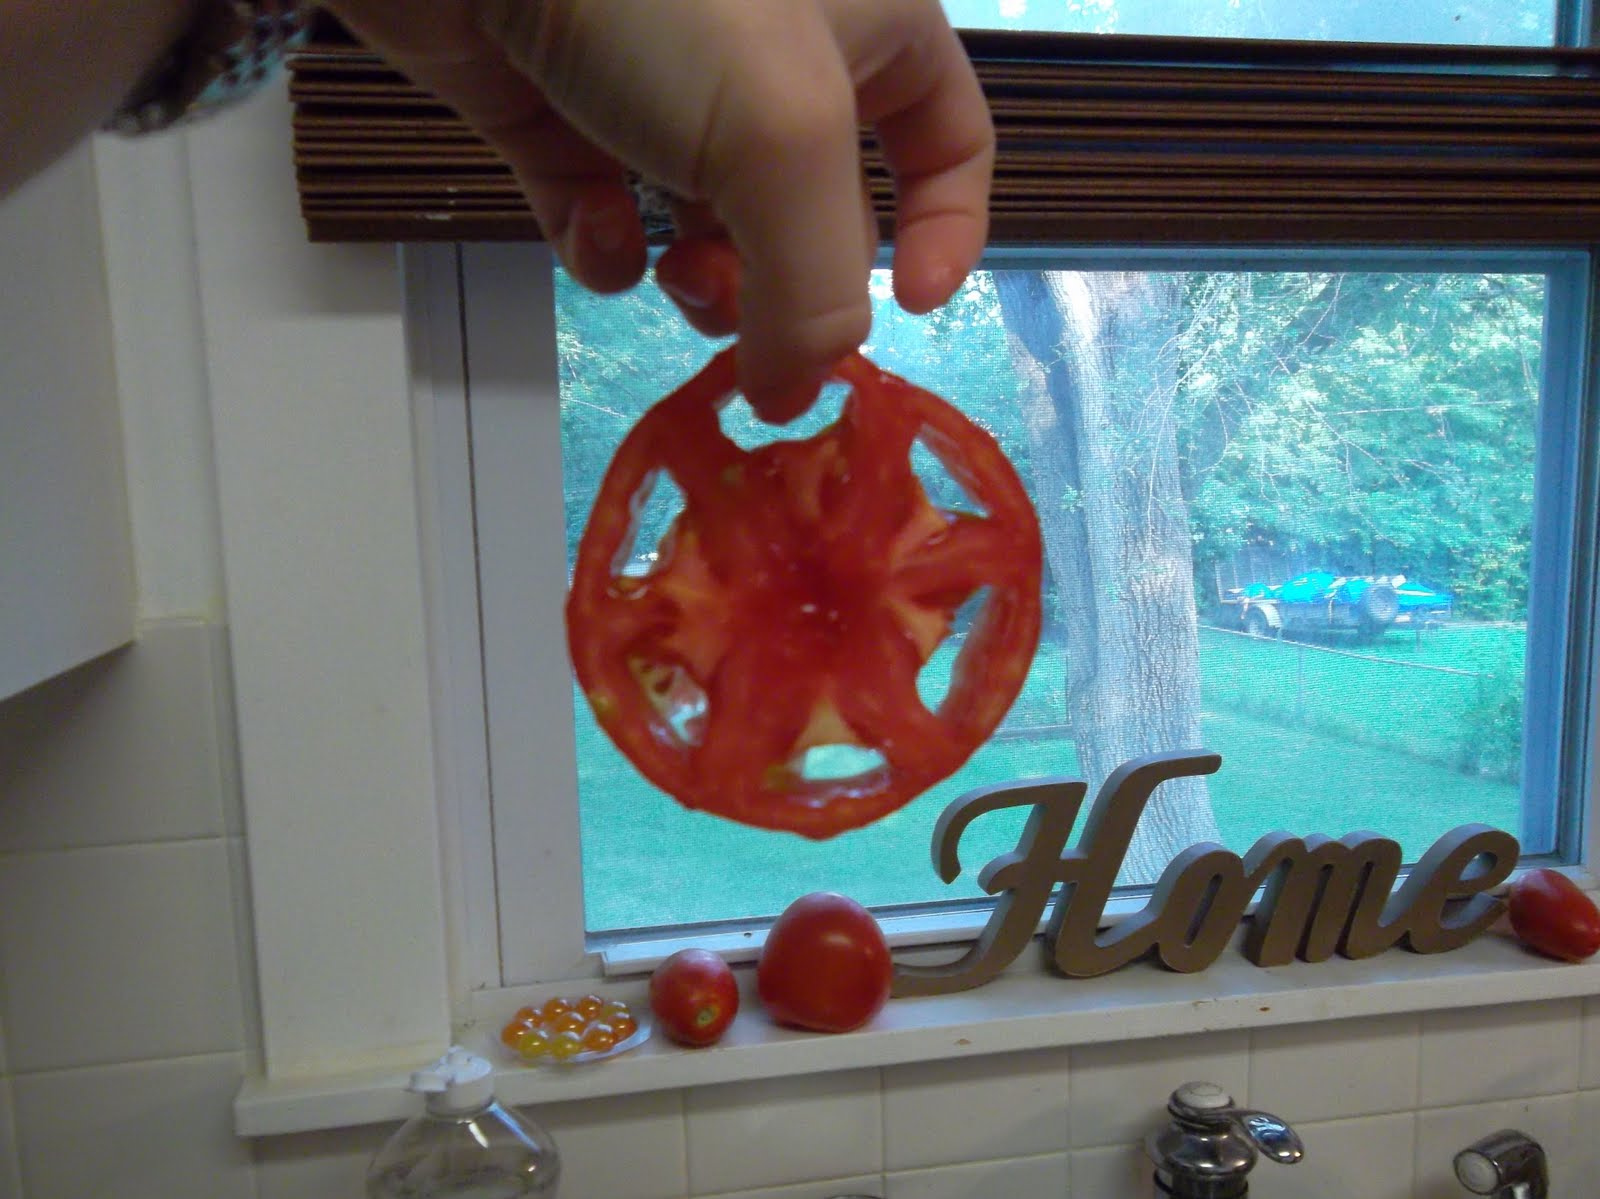
Back to the task at hand.  The first thing you'll want to do is remove skin off your tomato.  You do this buy submerging it in boiling water.  Pierce your tomato on the stem end with a fork and twirl it around for about 30 seconds.

Leaving the fork in, take a knife and slice a criss-cross pattern across the bottom.

This will make it really easy to pull back the skin.

Next, slice your tomato into slices about half an inch thick.
Having a thicker sliced tomato will allow it to stand up to the cooking process.

Tomatoes are very watery, so you will want to remove the gelatinous seeds from each pocket.
Since you're already at the cutting board, go ahead and chop your basil.  You're going to want to slice about 5 basil leaves into a chiffonade.  You do this by rolling up the basil leaves hamburger style and then slicing them thinly.

At this point, you'll want to heat a medium sized skillet over medium-highish heat (Like a 6).  While it is heating up, douse your tomatoes with olive oil, salt and freshly cracked pepper.
Place the tomatoes on the skillet and let them cook for 90 seconds.  Flip them over and allow them to cook another 90 seconds.  What we're looking to do here is cook the tomatoes enough that you get that concentrated flavor, but not so much that they are mushy.  You still want these to have some firmness when you're done.
Turn the heat off and sprinkle the tomatoes with some shredded mozzarella.  Cover the skillet with a lid so the cheese can melt.
Take a peak after a minute or so and the tomatoes should look like this:

Transfer to a plate and top with the chiffonade of basil you chopped earlier.  Add some more salt and freshly cracked pepper, and sprinkle a few drops of balsamic vinegar on top.  The vinegar will bring out the tomato's natural sweetness.

Mangia!